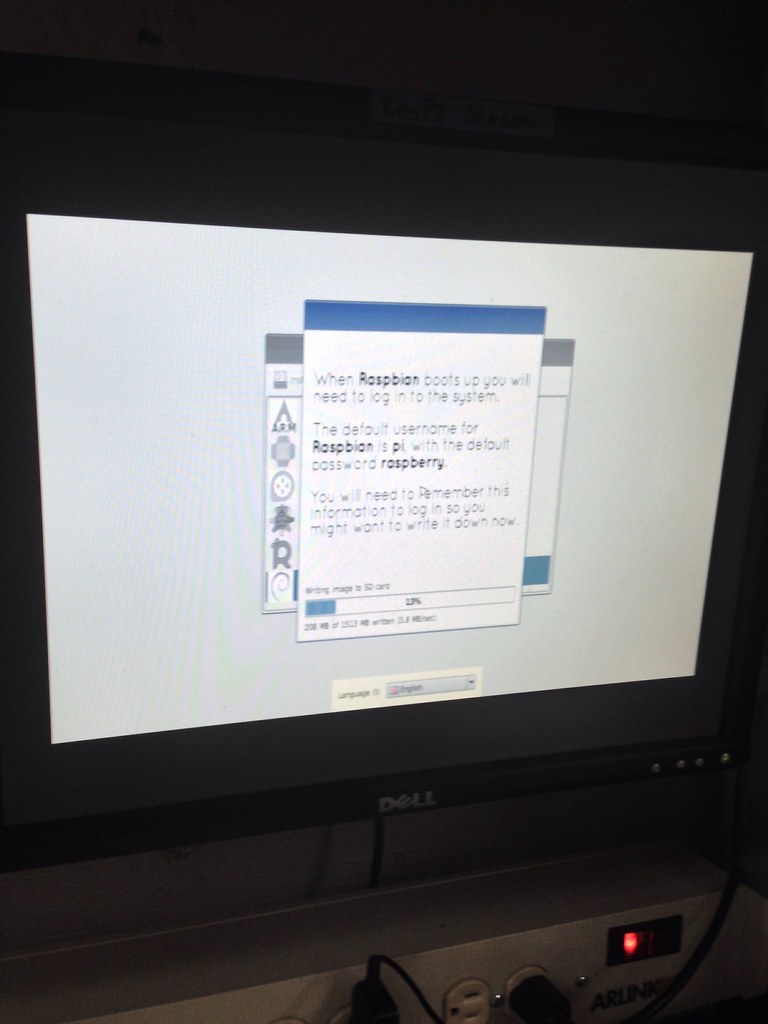
Along with my Arduino mission accomplishments, I wanted to dust off the Raspberry Pi that had been sitting unused for over a year. After much yak shaving to get the OS installed, I set it aside while trying to figure out a way to see anything. Recently, a friend tipped me off about a Raspberry Pi getting started night at the Vancouver Hack Space.
It was a fun atmosphere. In the introductory blog post for the event, the hackspacers recommended that we might need our own keyboard and mouse. Not having a USB keyboard, I secured one from Vancouver’s Free Geek (as well as a composite wire), then proceeded to the hackspace (with a detour to Hawker’s Delight for dinner) to get setup. I did not need the keyboard, as there was a keyboard at the station to get the Raspberry Pi’s OS initially setup and to determine the IP address assigned to it on the network.
Once hooked back up to the network and headless (not hooked up to a monitor), I was able to SSH through the Vancouver Hack Space’s network to the Pi in and download the WebIDE software. Borrowing some lead wires and an LED, and after some initial confusion about where I was to get the Python code responsible, I was able to successfully blink an LED light.
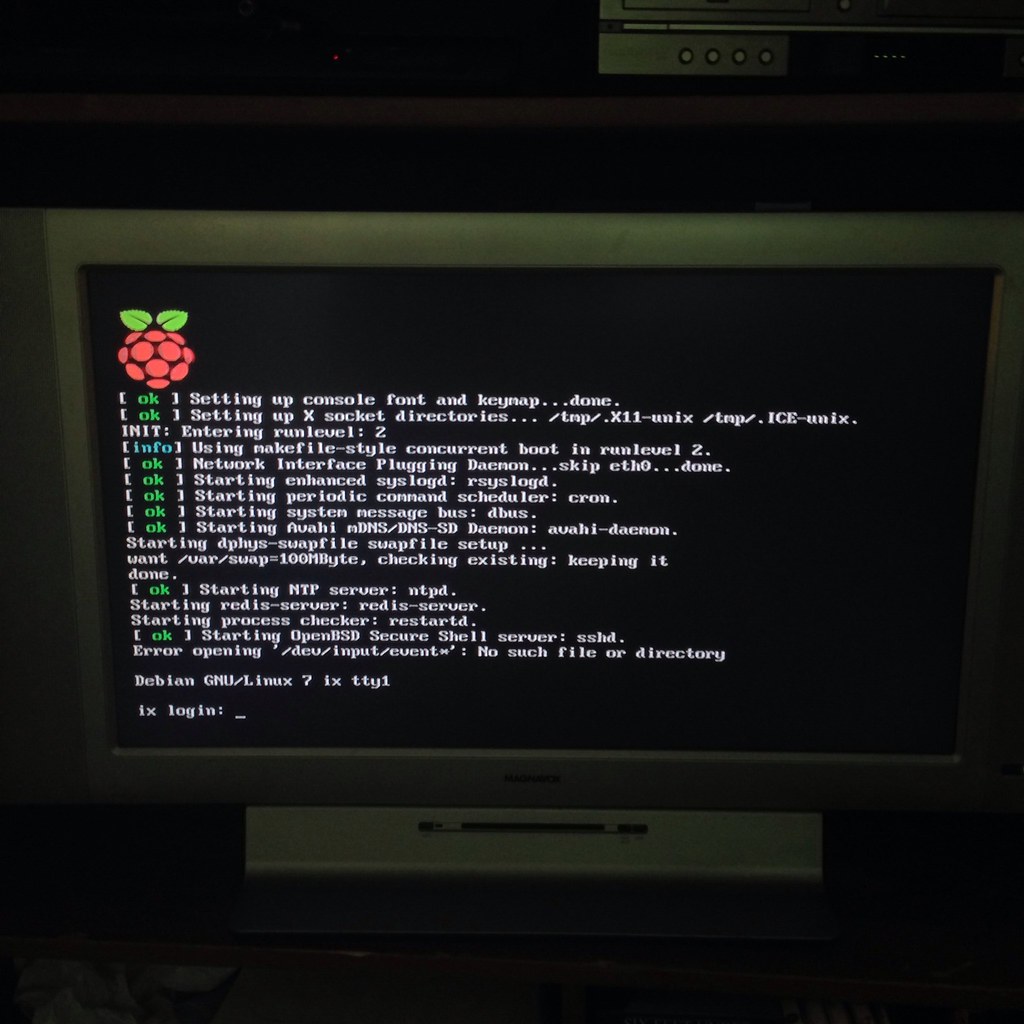
The next day, I hooked the Raspberry Pi to my TV at home (with the aforementioned composite wire). And it booted!
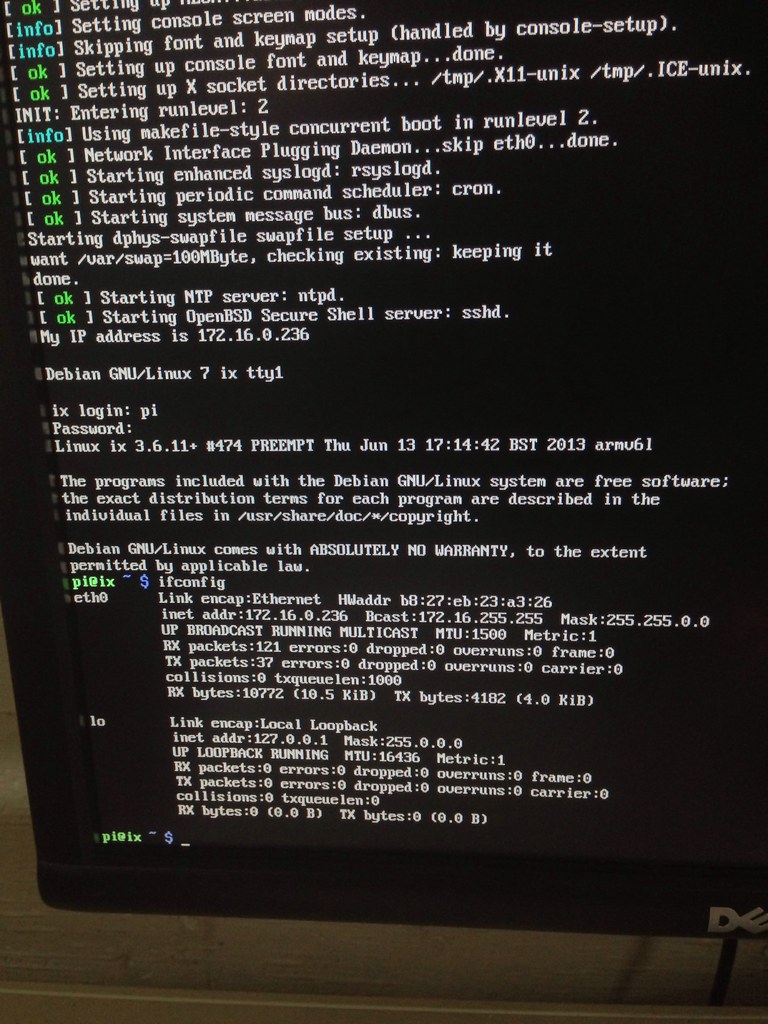
With a long ethernet cable, I hooked the Pi to my local network (which is nothing more than an Airport Extreme router). After using the same method as at the hackspace to determine the IP address on the local network, I unhooked the TV and the long wire, and hooked up a shorter Ethernet cable to the router. Following that, I was able to SSH into the Pi via my laptop as well as my iPad. Copying over some SSH keys and adding a section in ~/.ssh/config I’m able to login without a password.
Ideas for what’s next:
- Punch a hole in the firewall so that the Pi can accept inbound connections from the Internet, or probably just my VPS located in California
- Create a daemon that responds to pings from my VPS every time a specified action occurs.
- My first idea for the “specified action” is a unique visit to my website. (I get few enough visits that there should be measurable time between the action.)
- Write code on the Pi to light up an LED when that action occurs. Bonus points for fade in/fade out.
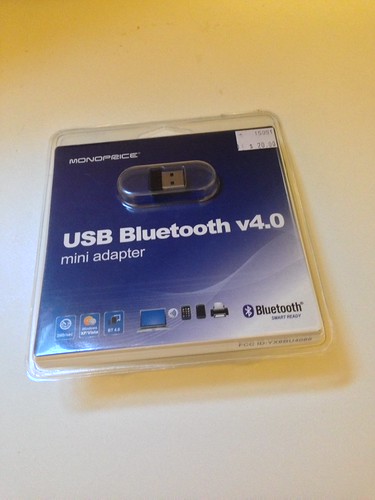
- Have the Raspberry Pi interact wirelessly, either with my home network or directly to my iPhone. Products like a combo Bluetooth/Wi-fi adatpter look interesting.
I have two short books that should also dislodge some ideas from my brain: Raspberry Pi Networking Cookbook by Rick Golden and the Getting Started with Raspberry Pi by Matt Richardson and Shawn Wallace. Like with my Arduino missions, I’ll stick closely to the book at first, jotting down plans for more adventurous configurations as I go along.
]]>